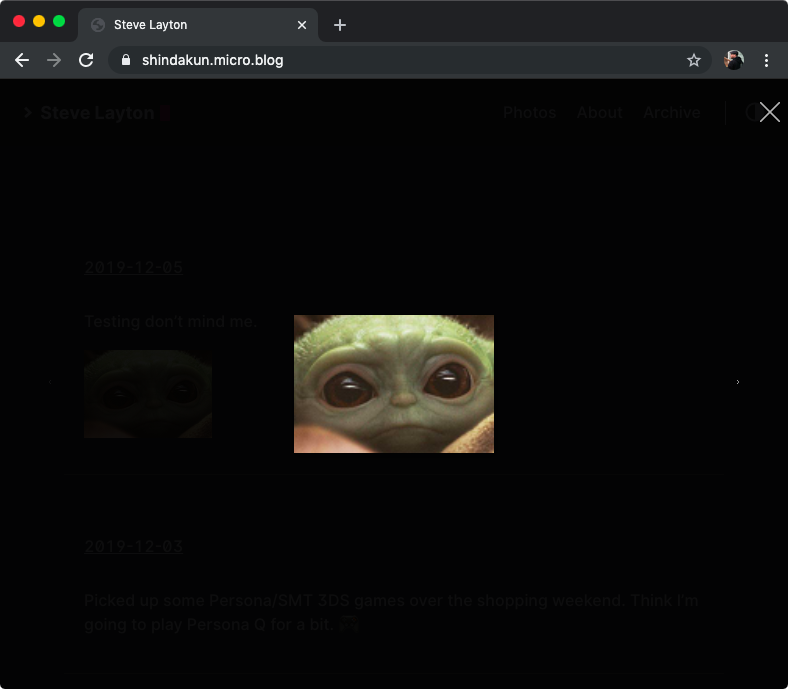
Background
A day or so ago someone posted in one of the micro.blog slack channels asking how to add a lightbox. I had been meaning to update my setup here on the blog and add a lightbox since my current images weren’t linked. Mostly though, I wanted to get rid of jQuery. So with that in mind we’re going to go through the first steps of adding a lightbox. We’ll first add it so images in individual post are linked. This also lays some of the ground work for us to extend the “photos” page to include a lightbox.
Finding A Lightbox
The first step was to find a “modern” lightbox solution. As I mentioned the majority of older solutions used jQuery and I don’t want another dependancy. jQuery is great and all but, I’m trying to watch my overall page weight. After some searching around I settled on GLightbox.
Hugo Themes
micro.blog, like this site, uses Hugo for hosted blogs. This setup allows to have control over the theme so we can easily pick a custom theme and extend it with our gallery script. One thing to take note of - I am using the Hello and while this should work on any Hugo there will be differences if you are using another theme.
GLightbox JS and CSS
GLightbox is very easy to install which makes it perfect for this. We’ll need to edit our theme so I recommend first going through the steps in the help.micro.blog section on custom themes.
CSS
Assuming you are using the Hello theme we now need to edit layouts/partials/head.html and include our CSS and the actually Glightbox JavaScript. This is relatively easy though, just follow the instructions on the Micro.blog help (Manton has a great YouTube video which covers the basics).
Once in the editor, we’ll want to add the following two lines:
<link rel="stylesheet" href="https://cdn.jsdelivr.net/npm/glightbox/dist/css/glightbox.min.css">
<script src="https://cdn.jsdelivr.net/gh/mcstudios/glightbox/dist/js/glightbox.min.js"></script>
JavaScript
So far so good! I have a feeling the next part is going to be different with every theme, so it might not be as easy. When adding an image to a post through the micro.blog website it is simply included as an <img> tag. The last thing I want to do is have to go in and add all the tags to images as I post them.
With that in mind I crafted a passible bit of JavaScript which will pull out any images that appear within post content and automatically link them so they will be shown in the lightbox.
Neat.
To add the JavaScript we’ll again need to edit part of the theme. In this case we’ll want to open static/assets/main.js for editing. Once open we can added the following JavaScript to the top. Feel free to take out the comments, I’ve just added them for this post.
// First we'll grab all the images inside a post paragraph
let ims = document.querySelectorAll('.post-content p img')

// If ims === 0 lets not do anything
if (ims.length > 0) {

  // Now we'll loop through all of the images that were picked up
  // Note that I'm doing no real error handling, you might want to clean this up
  for (let i = 0; i < ims.length; i++) {

    // For each image we get the parent element, in this case it will be <p>
    let parentElm = ims[i].parentElement;

    // Using the paraent element and the image object we replace the innerHTML
    // with our image with the class "glightbox" and a link to the image
    parentElm.innerHTML = '<a href="' + ims[i].src + '"><img src="' + ims[i].src + '" class="glightbox"></a>'
  }
}

// Finally we call GLightbox and if all went well...
const lightbox = GLightbox({});

Caveats
“This code works on my computer!” Hopefully, if everything went smoothly then the image above should be clickable and should appear in the lightbox. The JavaScript image selection code is likely extremely brittle and probably won’t work for many themes. There should be enough information here for others to follow. For best results you will probably want to keep to only one image per post (though it should work with more).
Update
As Jason Becker points out since we are using Hugo we can take advantage of custom shortcodes. Also as @bix noted, the docs for Glightbox indicate that the class is added to the <a> anchor tag and not the image itself. It seems to work OK either way in my testing but if you are having an issue that could be why.
| Enjoy this post? |
|---|
| How about buying me a coffee? |
