RoguelikeDev Does The Complete Roguelike Tutorial
Week 1 - June 16th - 22nd 2020
Introduction
Welcome back! It’s been a bit since my last post. The quarantine was not the boon I thought it would be for side projects. I haven’t really been motivated to do much of anything.
I thought I might take part in the Portland Indie Game Squads Summer Slow Jam but, that didn’t really work out so far. Instead I’m going to try to take part in the ==RoguelikeDev Does The Complete Roguelike Tutorial==… and I’m already behind schedule.
Beyond that though I’ve decided to only loosely follow the tutorial. The first departure will be that I’m going to try to do it in PICO-8. Which hopefully won’t go that poorly. Since I already have PICO-8 installed I don’t really need to do much in the way of setup.
!arial10x10.png
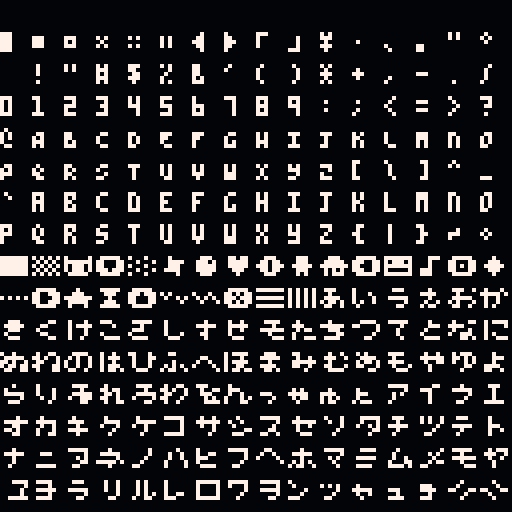
Using PICO-8 means I won’t be using libtcod but instead will be hacking away using lua. I’ve only recently started messing with it so hopefully it goes OK. Instead of the Arial font you see above I’m going to try to make use of the PICO-8 font.

This may not work out though since the font is an odd size. I could always recreate the glyphs I need in the sprite editor and have a nice 8x8 sprite. That may work nicely, I’ll have to look into that - for now though lets get on with it.
Part 0 - Setting Up
The tutorial starts out with getting python running and then writing ==HELLO WORLD== to verify its working. If you happen to have PICO-8 and want to follow along, boot it up and type in:
print("hello world")
Hitting enter should cause the text “hello world” to be echoed on the next line before returning to the prompt. There we go!
!PICO-8_2.gif
Part 1 - Drawing the ‘@’ symbol and moving it around
We are going to take the shortest route to completing our second goal for the week. Which might be a bit silly since we’ll likely switch over to sprite basing graphics, maybe. I haven’t quite decided. Alright lets see what we’ve got!
Upon booting a “cartridge” the system will run _init(). This can be used fro initializing starting variables or “constraints”. Here we are going to set our base position to the center of the screen. We’ll use this when rendering our @.
function _init()
  xpos = 64
  ypos = 64
end
The PICO-8 “console” has what amounts to a built in game loop. Which we can make use of by using _draw() and _update(). This allows us to draw to the screen and perform “updates” every 30 (or 60) frames. As seen below we use _update() to check for button presses and current position. Depending on what button was pressed and where we currently are on the screen we can then move our @ about.
function _draw()
  cls(3)
  print("@", xpos, ypos)
end

function _update()
  if (btnp(0) and xpos > 0) xpos -= 4
  if (btnp(1) and xpos < 127-5) xpos += 4
  if (btnp(2) and ypos > 0+4) ypos -= 6
  if (btnp(3) and ypos < 127-9) ypos += 6
end
If you happen to pick up PICO-8 the above code can be copied into the editor. After that simply type run from the command line and enjoy moving about.
Wrapping Up
I’ll be working over the next couple days to figure out a good release mechanism so I push builds to itch.io and GitHub. I suppose I could also release on the PICO-8 BBS once I have a “build”.
I am planning on also doing a read-through on the next two parts of the tutorial so I can decide if I need to switch to using sprites or if I should stick with “text”. If I can stay on track we should also see some more blog posts!
Additional Resources
The PICO-8 Manual /r/roguelikedev
| Enjoy this post? |
|---|
| How about buying me a coffee? |

